IFTTT (If This Then That) is an automation integration tool similar to Zapier and Make.com. It helps users to automate tasks and facilitate collaboration between different applications. With IFTTT, users can create automated workflows, known as "Applets". These workflows are built upon "Triggers (If This) " and "Actions (Then That) ".
For example, you can automate tasks like posting new articles on social media, backing up emails to cloud storage, or adjusting smart home devices according to weather forecasts. One of the main features of IFTTT is its lifestyle applications on mobile phones and smart home devices, making it suitable not only for businesses but also for individuals.
Compared to other integration tools, IFTTT is relatively simple and user-friendly.
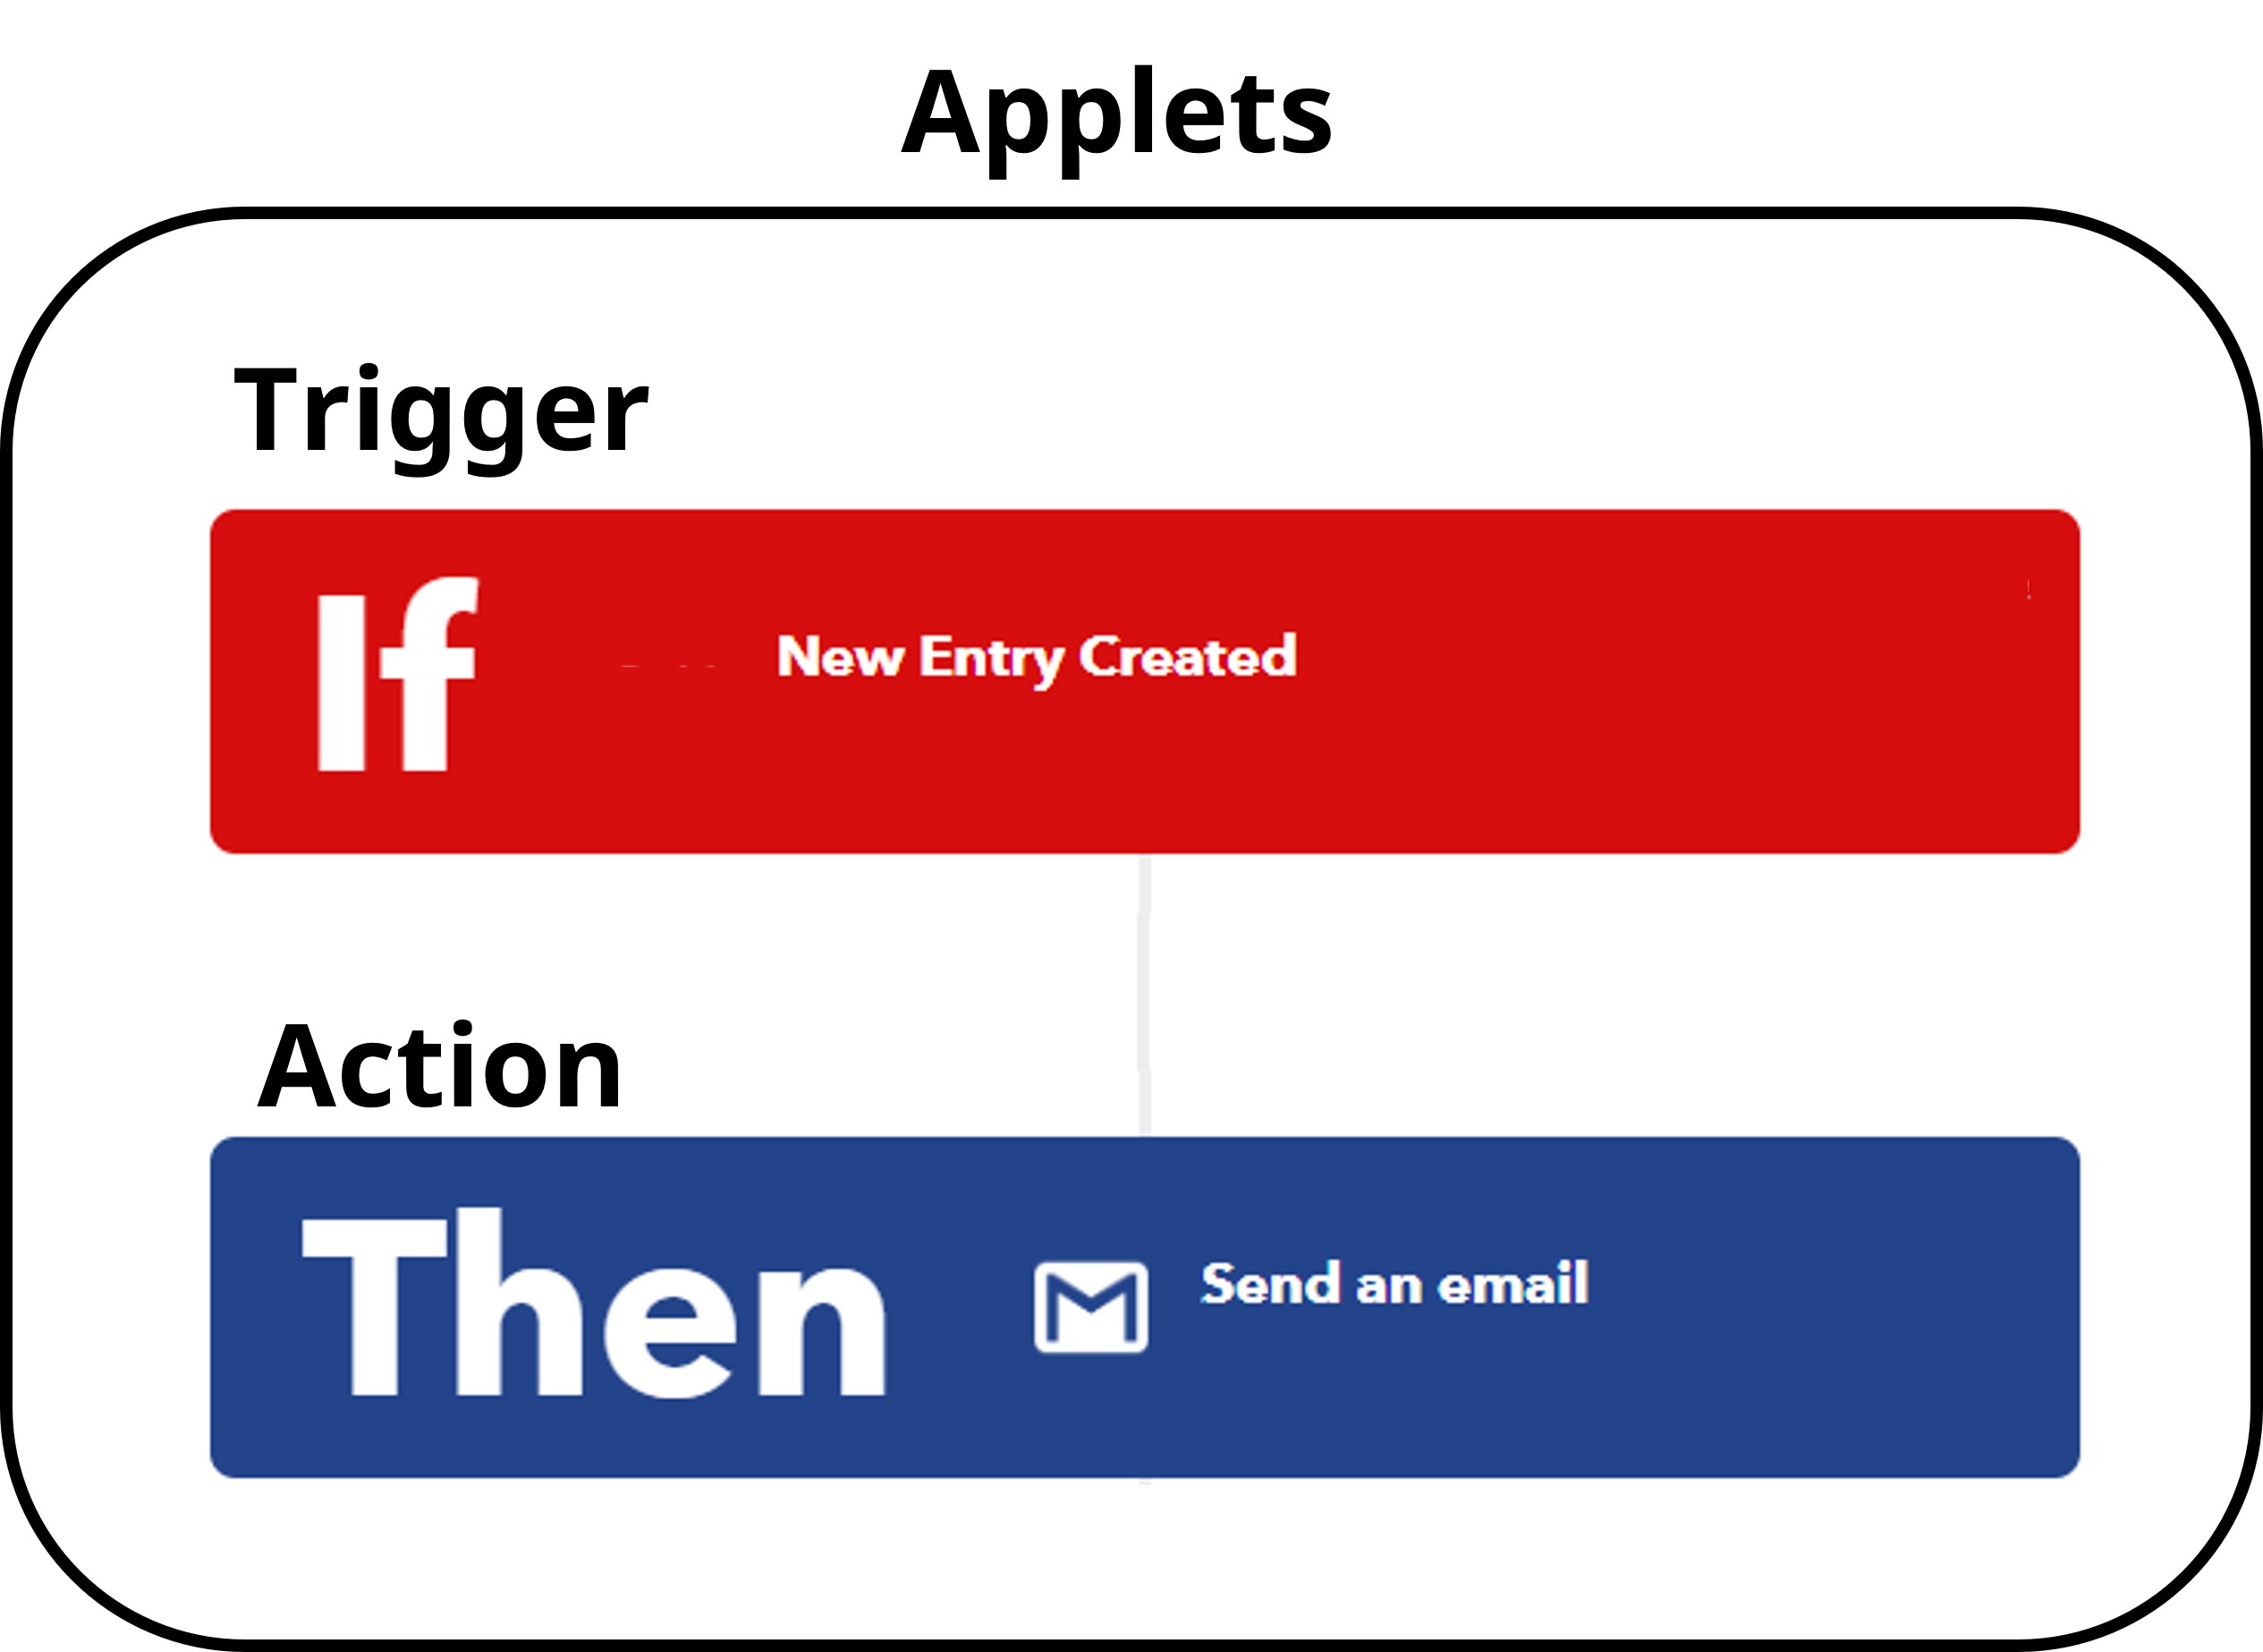
In IFTTT, a set of Applets consists of a Trigger and an Action.
1. Trigger: The event that prompts an Applet to run on IFTTT.
There are two supported Triggers: "New Entry Created", and "Entry Updated".
For example: When a new entry is created, send an email; when an existing entry is updated, send a message.
The supported Ingredients that can be sent out are as follows:
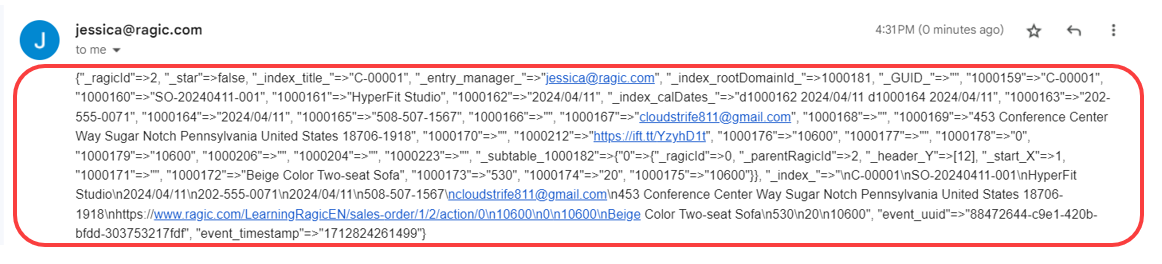
Data: All information related to the sent entry, presented in JSON format.
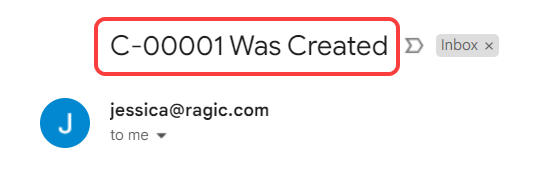
Title field: The field value of the Title Field for the sent entry.
Event time: The time when the entry was created or modified.
Note:
Since the Data can only be sent out in JSON format, it might be inconvenient for users unfamiliar with programming or JSON formatting.
It's recommended to use string formulas to include desired information in the Title field. Then, specify the Title field to be sent out when setting the trigger.
Example:
When a sheet is created, it automatically takes the first field in the sheet as the Title field. In this case, if you select the Title field as the email subject when sending a notification through IFTTT, the information may be too short to cover important information. However, if you send out Data, it will be in JSON format, which might be less convenient for viewing.
You can add a new field to the sheet and set it as the Title Field and use string formulas to present the desired information in that field.
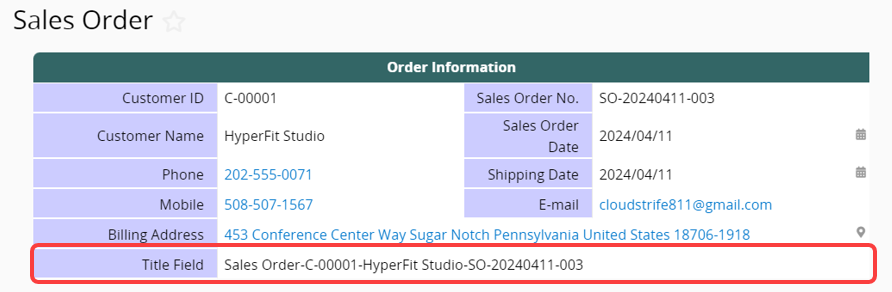
Then, when sending out emails, select the Title Field as the email subject or content to directly display the content you want.

2. Action: The action is what IFTTT does when a trigger activates.
There are two supported Actions: "Create Entry", and "Update Entry".
For example: When a message is received, automatically create new data, or modify existing data.
Note: Currently, IFTTT does not support Gmail as a Trigger. This means it cannot create an Applet that triggers "creating new data or modifying existing data in Ragic" when Gmail receives an email.
The supported Ingredients that can be sent out are as follows:
Currently, only Data can be sent out, which needs to be in JSON format for Ragic. This may not be suitable for users without a programming background or familiarity with JSON format. If needed, please refer to this API documentation.
The provided official templates currently include the following:
1. Gmail: Send a Gmail when there's a new entry created or an entry updated in Ragic.
2. E-mail: Get an email notification when there's a new entry created or an entry updated in Ragic.
3. LINE: Send a LINE message when there's a new entry created or an entry updated in Ragic.
4. Discord: Post a message to a Discord channel when there's a new entry created or an entry updated in Ragic.
5. Slack: Post a message to a Slack channel when there's a new entry created or an entry updated in Ragic.
6. IFTTT: Send a notification from IFTTT app when there's a new entry created or an entry updated in Ragic.
7. Google Sheet: Add a row to Google Sheet when there's a new entry created in Ragic.
In addition to the official templates listed above, users can also create custom Applets according to their own needs.
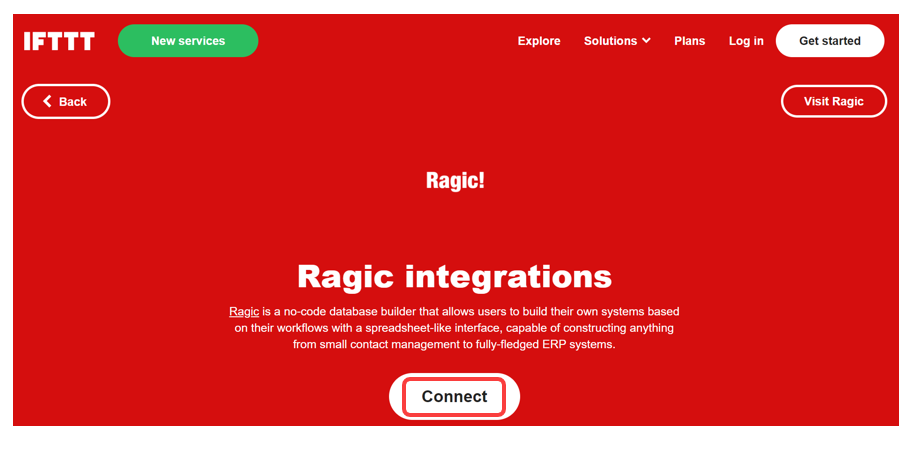
Access the Ragic link of IFTTT and click "Connect".
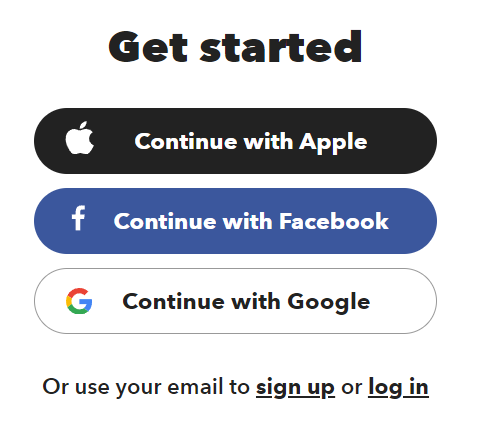
Select the Login option.
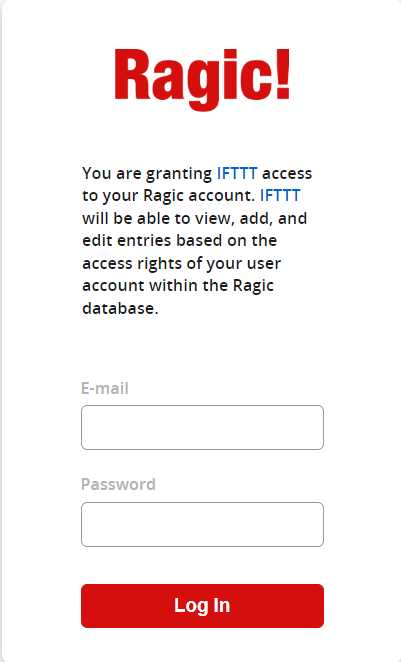
After logging into IFTTT, enter your Ragic account and password.
Note: If you log into Ragic by Google account, please reset your password first and then use that password to log in.
After logging in, you can start selecting and creating the Applets.
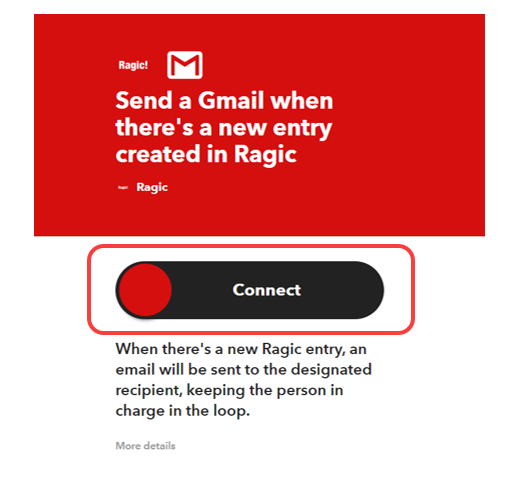
Select the Applet below.
Example: Select "Send a Gmail when there's a new entry created in Ragic", then click "Connect".
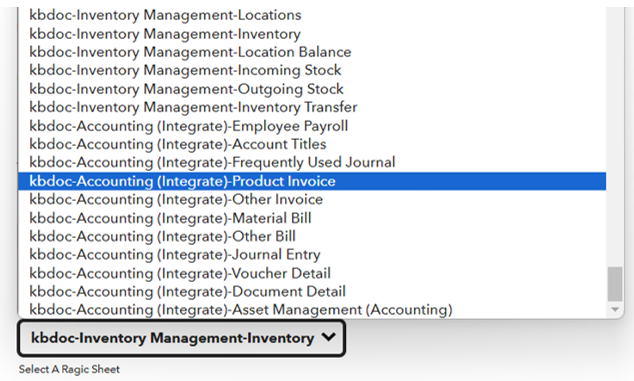
Select the sheet you want to integrate with. All sheets you have access rights will be listed.
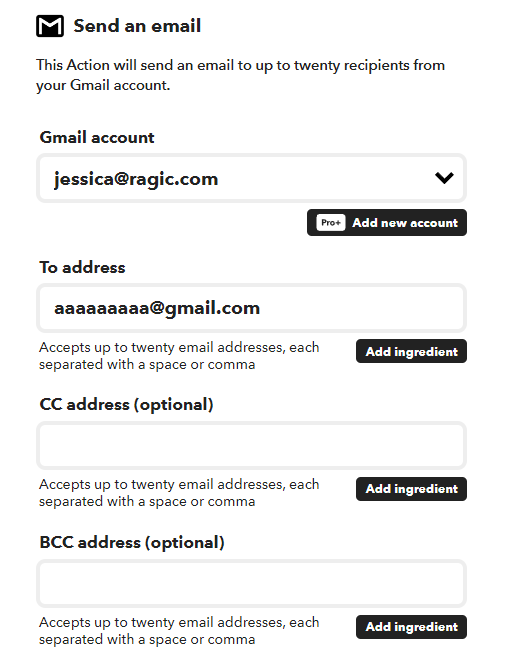
Set the email address for sending and receiving.
By default, the sending email account is restricted to the logged-in user. To add additional users, please confirm your IFTTT plan.
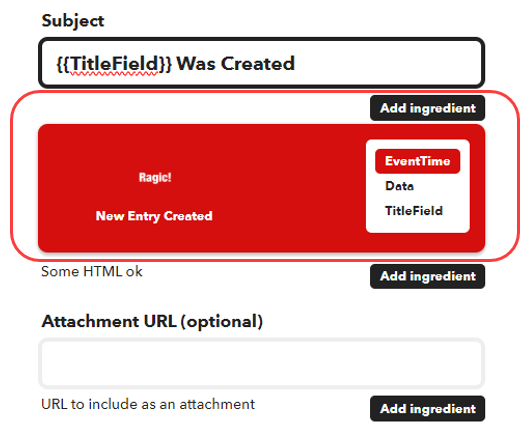
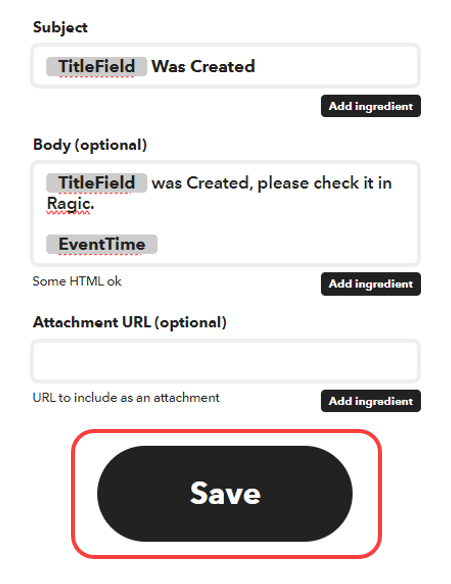
Set up the email subject, body, and other content, and add supported "Ingredients".
After completing, click "Save".
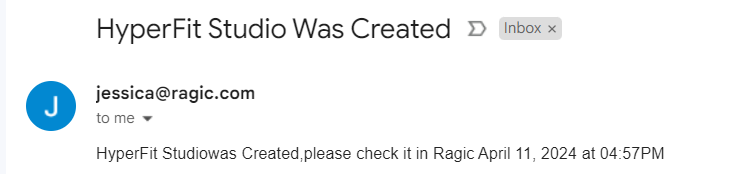
When a new entry is created in the sheet, the email will be automatically sent to the specified Gmail address.
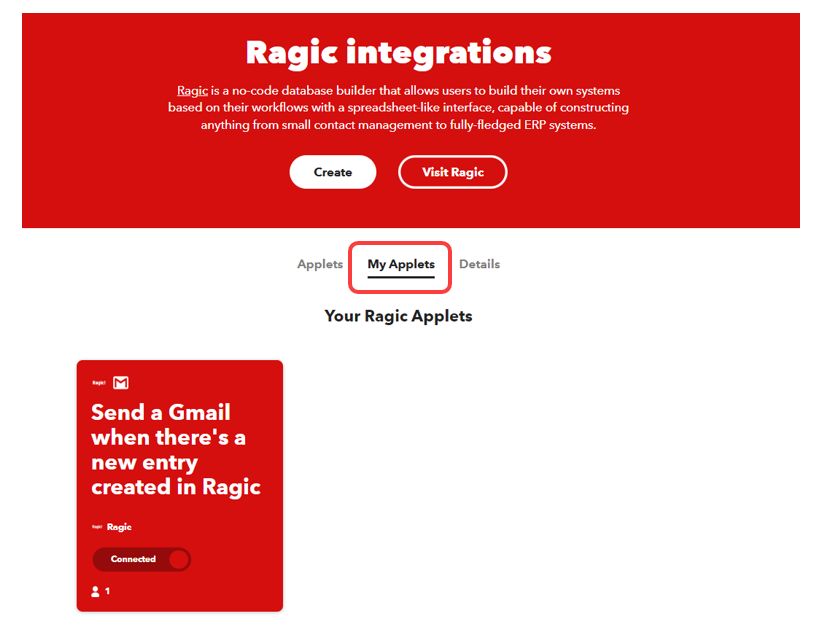
Returning to the initial page, you will see the tab "My Applets". You can view the Applets you just created there.
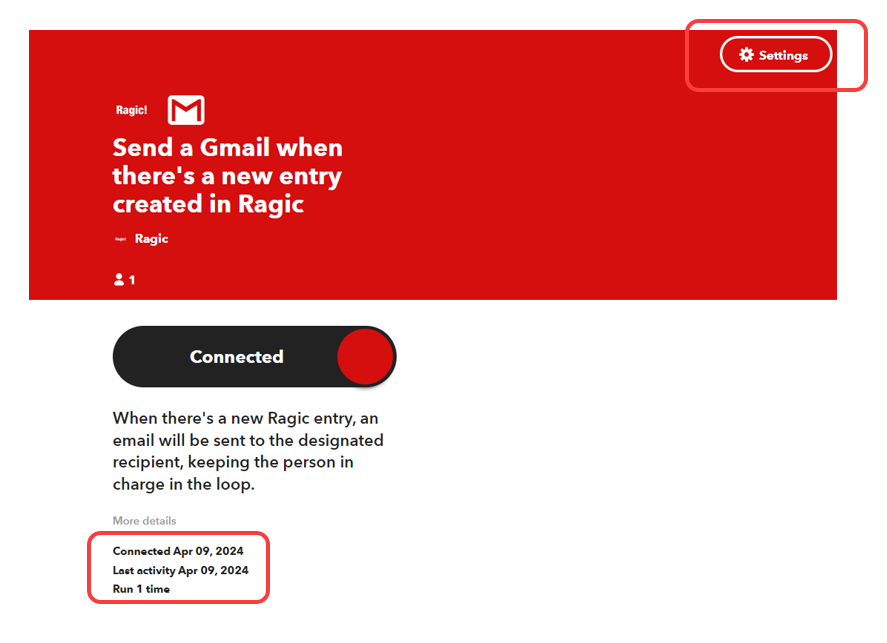
Click on the Applet, you can view the "connection time" and "execution count". Click "Settings" in the upper right corner to modify it.
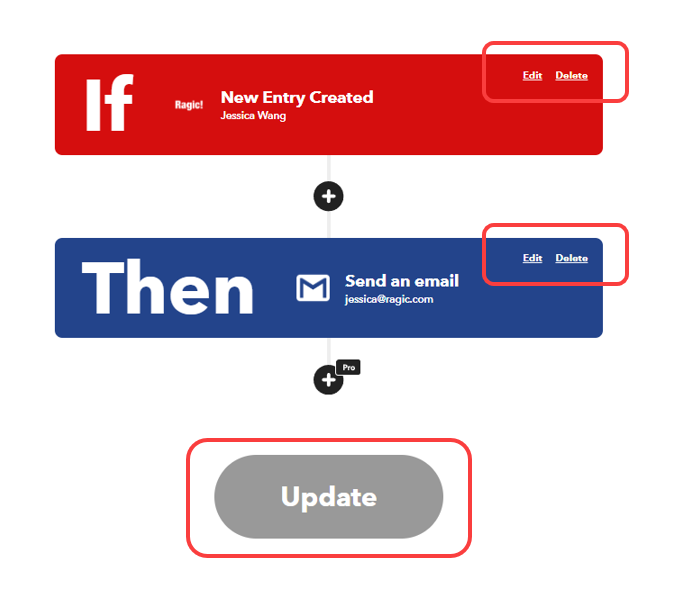
You need to configure If (Trigger) and Then (Action) separately. Click "Edit" in the upper right corner to modify and remember to click "Update" after making changes.
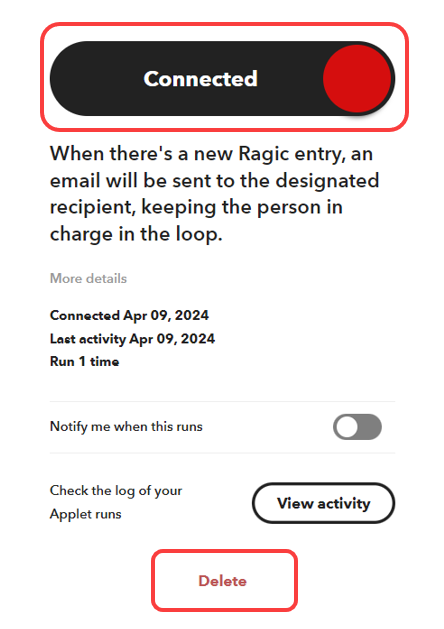
Click on "View activity" to see more information about the execution time and details.

Click "Connected" again to unlink this Applet or clicking "Delete" below will delete it.
1. When creating an "Applet", only a single sheet can be selected for the "Trigger" or "Action". However, the same sheet can be selected by multiple sets of Applets simultaneously.
2. Logging in with different IFTTT accounts allows users to set up different sheets for the same Applets.
3. Currently, official templates only provide the Trigger of Applets. For the Action of Applets, users need to create them using JSON format.
4. There is a limit on the number of Applets that can be created. For more details, please refer to the IFTTT official website.
5. The instructions above are for basic processes. Ensure your IFTTT plan supports advanced configurations for more options.
6. Please refer to the IFTTT glossary for related terms.

